How to implement a custom validation using jQuery
Sometimes, rather than using a dedicated JavaScript validation library, it's just easier to write your own custom JavaScript validation using jQuery. Let's dive in.
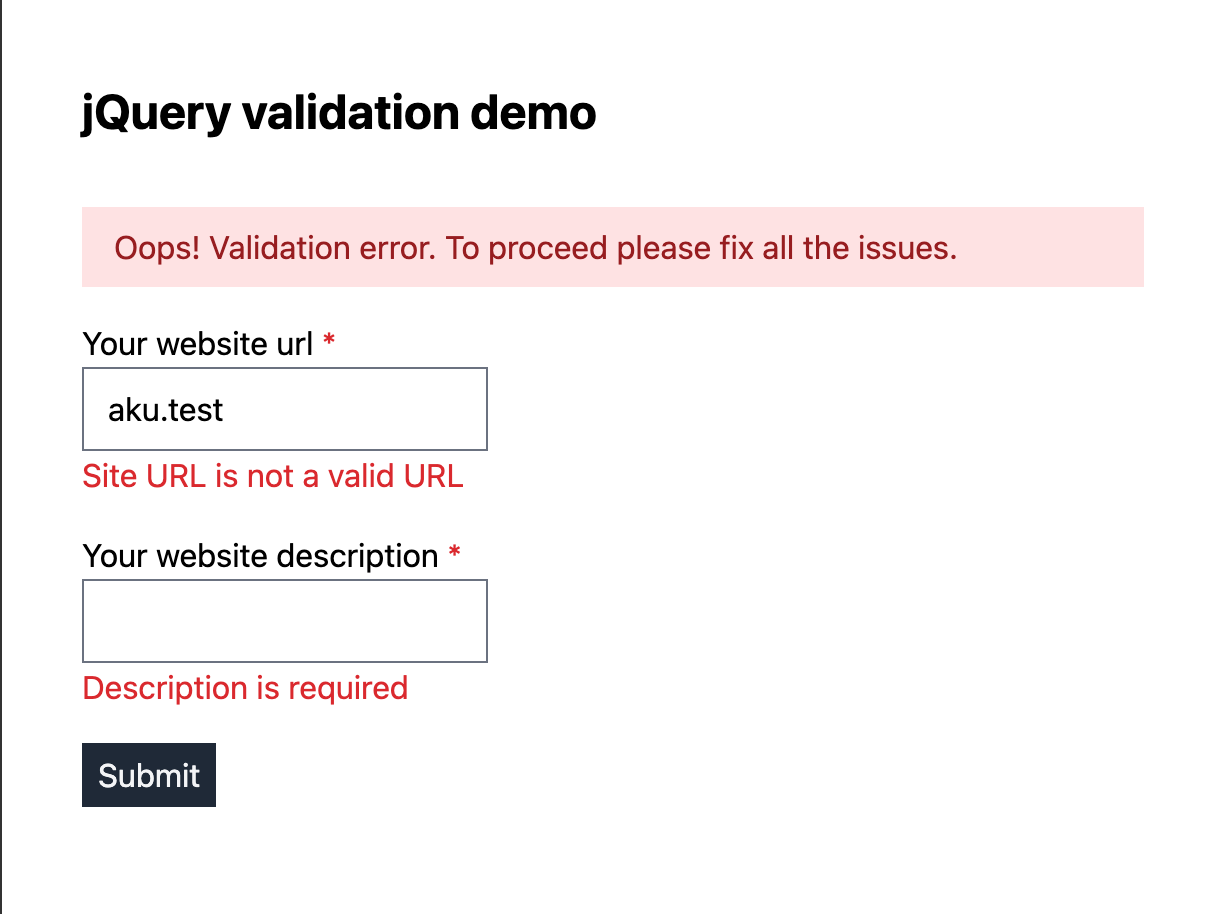
Sample form
<form id="create_website_form" action="/app/sites/create" method="post">
  <!-- CSRF token -->

  <div id="validation_error" class="hidden mb-4">
    <p id="validation_error_message">Oops! Validation error. To proceed please fix all the issues.</p>
  </div>

  <div class="mb-4">
    <label for="name" class="block">Your website url <span class="text-red-600">*</span></label>

    <input type="text" name="site_url" id="site_url">

    <!-- error message, default hidden -->
    <p
      class="hidden field_error_message"
      id="site_url_error_message"
    ></p>

  </div>


  <div class="mb-4">
    <label for="description" class="block">Your website description <span class="text-red-600">*</span></label>

    <input type="text" name="description" id="description">

    <!-- error message, default hidden -->
    <p
      class="hidden field_error_message"
      id="description_error_message"
    ></p>

  </div>

  <div class="mb-4">
    <button type="submit" >
      Submit
    </button>
  </div>
</form>
Validate code
- We will store all validation errors into the
errorsarray. - We need to reset previous validation errors before validating again.
- If there is a validation error, we show the specific field error message using ID.
- If there is a validation error,
validateForm()will return false.
function validateForm() {
  var errors = [];

  // reset previous validation
  $(".field_error_message").hide();
  $("#validation_error").hide();

  var site_url = $("#site_url").val().trim();

  if (site_url === "") {
    let error_message = "Site URL is required";
    errors.push(error_message);

    // show the field error message
    $("#site_url_error_message").text(error_message).show();
  }
  else {
    if (!isValidUrl(site_url)) {
      let error_message = "Site URL is not a valid URL";
      errors.push(error_message);

      // show the field error message
      $("#site_url_error_message").text(error_message).show();
    }
  }

  if ($("#description").val().trim() === "") {
    let error_message = "Description is required";
    errors.push(error_message);

    // show the field error message
    $("#description_error_message").text(error_message).show();
  }

  if (errors.length > 0) {

    // show the top error message
    $("#validation_error").show();

    return false;
  }

  return true;
}

// helper function to validate URL
function isValidUrl(string) {
  try {
    new URL(string);
    return true;
  } catch (err) {
    return false;
  }
}
Performing validation
- When the user tries to submit the form by clicking on the Submit button, this code will catch it based on the form ID
create_website_form. - Using
e.preventDefault(), it will stop the form submission. - We then can validate the form by calling the
validateFormfunction. - If
validateForm()returns false, then we just stop here. - If
validateForm()returns true, then we continue the form submission.
$("#create_website_form").submit(function (e) {
  e.preventDefault();

  // validate the form
  const validate = validateForm();

  // if there is validation errors, execution stop here and no further process
  if (!validate) {
    return;
  }

  // if there is no validation error, continue submitting the form again

  $(this).submit();

});
Demo
You can find the demo by clicking here.
https://codesandbox.io/p/devbox/sleepy-wozniak-d9djn4
Backend validation
While JavaScript validation provides immediate feedback to users, it's important to note that it alone is not sufficient.
Backend validation adds an extra layer of security and ensures data integrity, providing comprehensive protection against potential vulnerabilities.
My validation Preference
Here is my preference when working with validation, from high to low:
- My first option is dedicated JavaScript validation and dedicated Backend validation.
- Second option is Ajax Backend Validation.
- Third option is just Backend validation.
- And the last option is just JavaScript validation (Not recommended!).
Conclusion
This example here is far from perfect, but once you grasp the basics, you can evolve it further. Happy coding!